
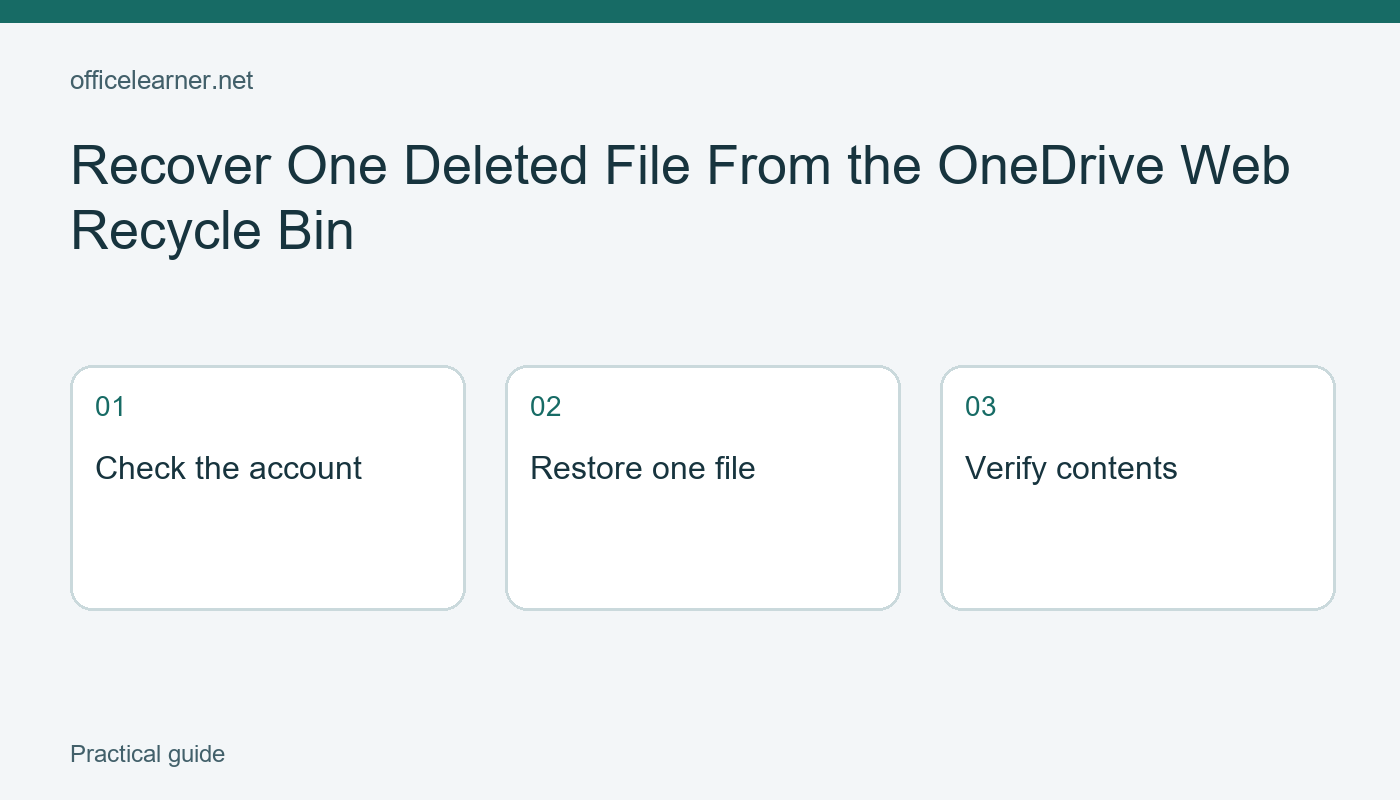
Recover One Deleted File From the OneDrive Web Recycle Bin
To recover a file that is still in your OneDrive recycle bin, open OneDrive on the web with the correct account, choose Recycle bin, select the item, and choose Restore. Then verify the restored file in its original location. Start with one missing item so you can confirm the result before restoring a larger selection. Recovery depends on the file still being available under the account's retention rules.
This guide covers a single-file recovery rather than rolling an entire OneDrive back to an earlier state. The distinction matters when only one document is missing and the rest of your work is current. Do not empty any recycle bin while investigating. A clean-looking bin is not a useful outcome when the task is to retrieve something from it.
Confirm which account owns the file
Write down the filename, the approximate folder, and when you last saw it. If you use both a personal Microsoft account and a work or school account, check the account shown in the browser before searching. Similar folder names across accounts can make an intact document appear missing. Changing accounts is a different action from restoring a deleted item.
Search your current OneDrive files first. A document may have been moved or renamed rather than deleted. Use distinctive parts of the name instead of a broad term such as report. If you find a plausible match, open it and inspect its contents. Do not assume that an old download with a similar name is the latest working copy.
Next consider whether the document belonged to you or was shared by someone else. Microsoft's recovery guidance explains the scope of the OneDrive recycle bin and its retention limits. A file owned by another person may require that owner or an administrator to investigate. Avoid repeatedly searching your own bin when the original document was stored in a different person's location.
Restore the item that matches your evidence
Open Recycle bin in OneDrive on the web. Inspect the available identifying details, including the name and original location where shown. Select only the item that matches your notes, then choose Restore. If several similar files exist, compare them rather than restoring everything and deciding later which copy was intended. A small selection is easier to review and explain.
Return to the original folder and look for the restored document. Open it in the appropriate app and inspect a recognizable section, sheet, or slide. Check that it is the content you expected, not merely a file with the same name. For a fictional workshop agenda, a useful check might be the latest session title and the final page of instructions.
If a name conflict or another recovery message appears, read it before making a choice. Do not overwrite an existing current document simply to remove a warning. Preserve both versions when appropriate and compare their contents. The exact options can depend on the account, the file's location, and the service's current behavior, so the message on your account is relevant evidence.
Understand the limits before trying unrelated fixes
Microsoft currently describes a 30-day recovery window for personal OneDrive recycle-bin items and generally 93 days for work or school items, unless an administrator has changed the retention setting. Permanently deleted items cannot be restored through this recycle-bin procedure. Check the linked Microsoft guidance and your organization's policy rather than treating a remembered deadline as a guarantee.
An older version of an existing file, a deleted file, and an entire-account rollback are different recovery problems. Version history is relevant when a document exists but its contents changed. A recycle bin is relevant when an item was deleted. An account-wide restore affects a broader set of changes. Choose the narrowest documented recovery operation that matches what happened.
If the item is absent, record the account, filename, approximate deletion time, and locations already checked before contacting the owner or administrator. This gives them something concrete to investigate. Do not include passwords or application secrets in a support message. Installing a recovery utility is not a substitute for understanding whether the document was ever saved in the cloud location you are searching.
Use a harmless practice file
If you want to learn the workflow before an urgent recovery, create a disposable document with a unique name, such as recovery-practice-library-agenda. Put a short invented sentence inside it and note the folder. Only use a file you own and are comfortable deleting. The point is to learn the route and verification steps, not to experiment with a valuable production document.
After deliberately deleting that practice file, follow the web recycle-bin process and inspect the restored sentence. If you are working under organizational retention or sharing rules, obtain the appropriate local guidance before conducting the exercise. This article describes a reproducible learning scenario and does not claim that a restoration has been tested on your tenant or that deleted files are always recoverable.
Make the result easy to confirm
Once the intended document is back, tell collaborators which location is current so nobody continues editing an unnecessary recovery copy. Our guide to making a OneDrive folder available offline explains a separate availability setting; offline availability is not a substitute for a recovery plan. For your next practice exercise, what evidence would prove that the restored file is the correct document and version rather than simply a familiar filename?