
Move a PowerPoint summary slide before an example
Reorder a slide in PowerPoint by dragging its thumbnail to the desired position in the thumbnail pane. For a short workshop deck, moving the summary before a detailed example can give the audience a useful overview. Check the resulting sequence in Slide Show view afterward. Moving slides changes their order; it does not automatically rewrite phrases such as as we saw earlier inside your slide text or speaker notes.
This walkthrough uses the normal editing view in desktop PowerPoint for Windows. Microsoft's current slide-management guidance includes Microsoft 365, PowerPoint 2024, and other supported editions, with separate instructions for some platforms. Mac and browser interfaces may use slightly different controls. Work on a practice copy and use the visible thumbnail positions as your guide rather than assuming a particular slide number will remain attached to the same content.
Build a four slide practice sequence
Create four simple slides titled Welcome, Detailed example, Key steps, and Practice task. Give each a short sentence so you can identify it during a show. On Detailed example write Sort six sample cards by color. On Key steps write Inspect the labels, group matching cards, and check each group. These invented teaching materials let you focus on sequence without bringing in a complex existing presentation.
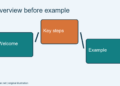
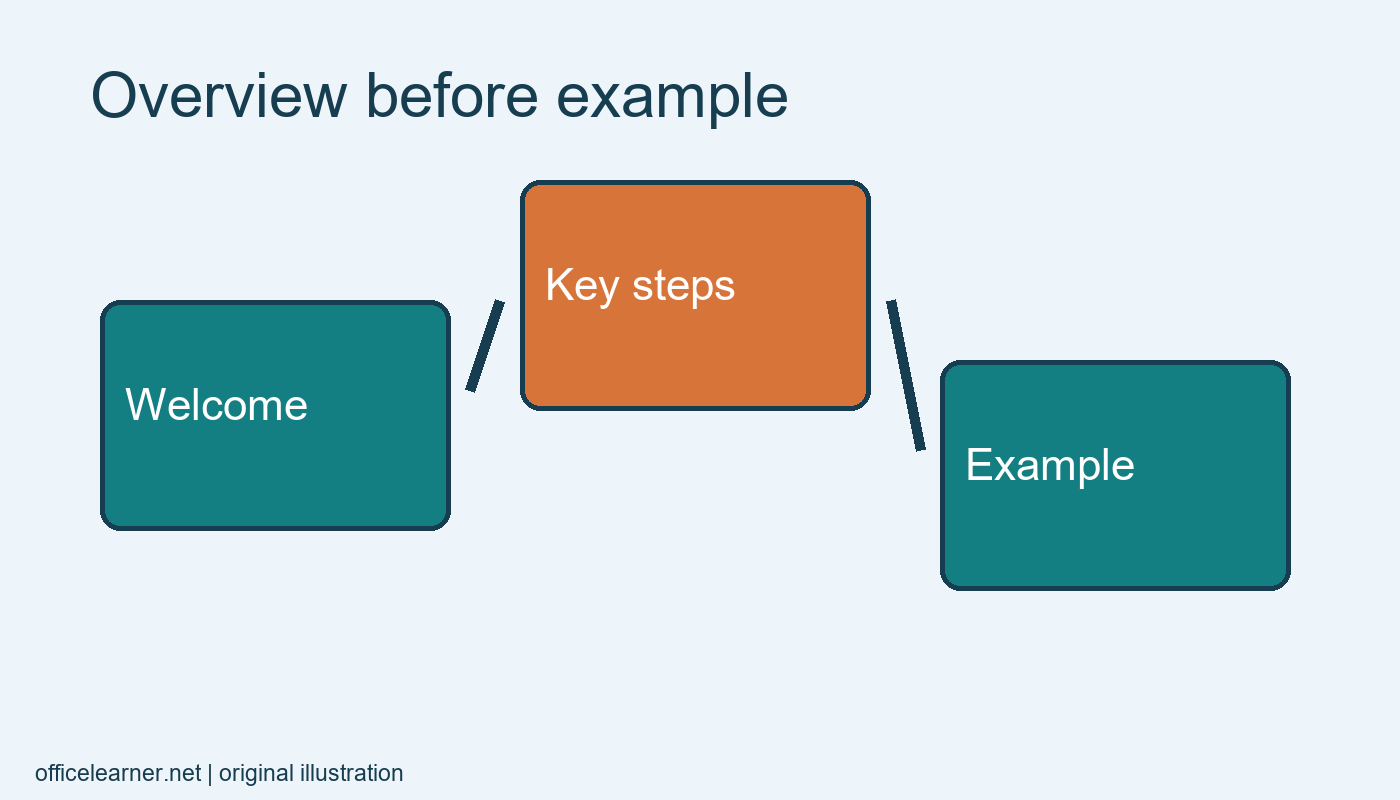
Save the file with a name that identifies it as a practice deck. Write the starting sequence on paper: Welcome, Detailed example, Key steps, Practice task. Your goal is to move Key steps between Welcome and Detailed example. The audience would then see the procedure before seeing it applied to the cards. That is a teaching choice for this example, not a rule that every presentation should put summaries first.
Drag the thumbnail to its new position
In Normal view, locate the thumbnail pane at the left. Select the Key steps thumbnail, taking care to click the slide preview rather than a text box on the main editing canvas. Drag it upward until the insertion marker appears between Welcome and Detailed example. Release the mouse button. Read the titles in the pane to confirm the new order before making any further changes.
If the slide lands in the wrong place, undo the move and try again with the pane enlarged enough to see the gap clearly. Do not delete and recreate the slide merely to adjust its position. Recreating content can introduce formatting differences or omit notes. A move should preserve the slide itself while changing where it appears. Verify that you still have four slides after the operation.
Read the transitions as a presenter
Start the slide show at the beginning. Move through Welcome, Key steps, Detailed example, and Practice task in sequence. Read the spoken transitions you would use. A useful bridge might be: These are the three steps; now watch them applied to six cards. If an old transition says You have already seen the example, edit it because it no longer describes the audience's experience.
Inspect speaker notes as well as visible text. A note can refer to a previous slide even when the slide itself looks independent. Change notes that describe the old order, including reminders to return to a concept later. In a shared deck, these small references are often what makes a reordered presentation confusing for the next presenter. Review them before assuming the sequence is ready to hand over.
Check references that depend on position
Look for phrases such as on slide three or the next slide shows the answer. A slide that used to be third may now be second. Where possible, refer to a meaningful title or topic instead of a number in the spoken script. If numbers are important in a printed handout, regenerate or review that handout after the slide order changes so the material people hold matches the presentation.
Also inspect any intentional navigation links, custom shows, or sections in a more advanced deck. This beginner exercise does not create those features, but an existing deck may contain them. Reordering a thumbnail is only one part of maintaining a navigation design. Check the actual routes a presenter or reader will use rather than assuming the standard next-slide sequence is the only route through the file.
Avoid selection mistakes
Dragging an object on the main canvas moves that object within a slide. Dragging a thumbnail moves the slide in the deck. Those are different operations with similar gestures. If your title or shape moved unexpectedly, undo and return attention to the thumbnail pane. The pane should show the whole slide preview and its position among neighboring slides, which gives you visual confirmation of the operation's scope.
For this example, move only one slide at a time. PowerPoint can also move multiple selected slides, but that introduces another selection decision. If several thumbnails are highlighted unexpectedly, click one thumbnail to make the intended selection clear before dragging. After every move, count the slides and read their titles. A quick check is easier than discovering a misplaced practice task during a live explanation.
Compare two teaching orders
Make a second practice copy with the original example-first order. Read both versions aloud using the same explanation and audience assumptions. In one version the audience observes the problem before receiving the method. In the other they receive the method and then see its application. Neither order is automatically superior; the useful question is which version makes your particular exercise understandable with fewer interruptions.
Write one sentence explaining your choice. For example, I put Key steps first because participants need a checklist before sorting their own cards. Then ask another person to describe the intended sequence from the slide titles alone. If they cannot tell why one slide follows another, improve the titles or transitions. As a final exercise, move Practice task before Detailed example and explain what teaching purpose that alternative might serve before returning to your chosen order.