
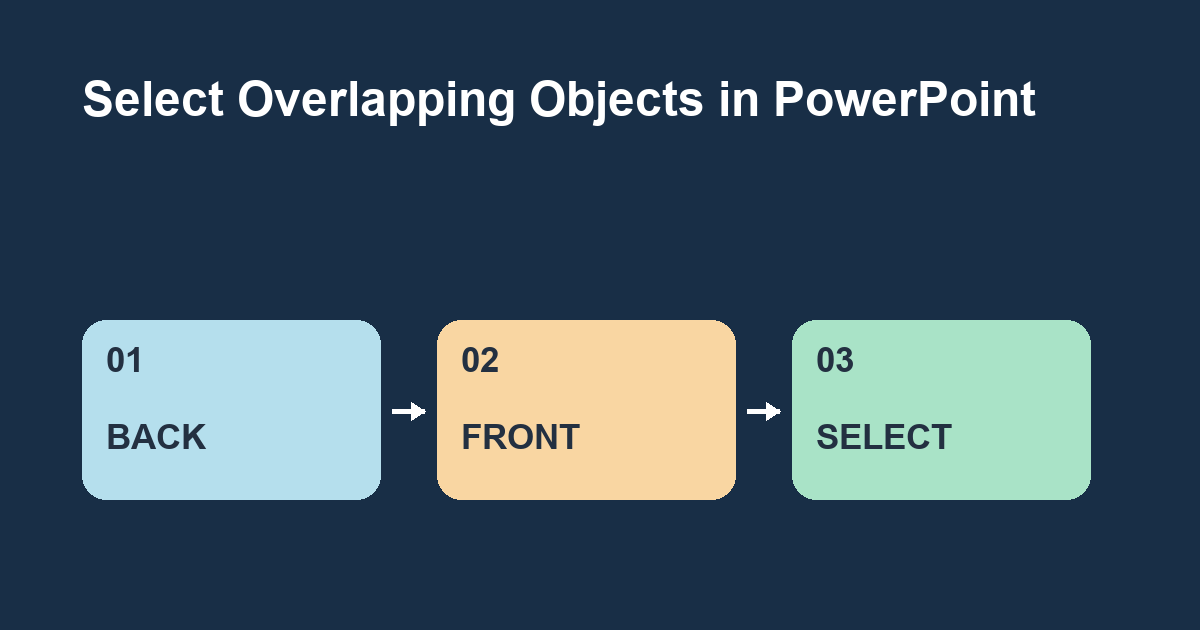
Open the Selection Pane and select the object by name. You can edit a covered shape while keeping all the shapes in their original positions.
Build a practice slide
Insert a blue rectangle and type Workshop inside it. Insert a smaller orange rectangle over part of the first one. Add a separate text box below the pair reading Room 204. Click where the shapes overlap and observe that the front shape gets selected.
Select and rename the shapes
Select any shape and open Shape Format > Selection Pane. The front shape should appear higher in the list. Select the blue rectangle there and give it a white outline. Rename the rectangles Workshop background and Orange overlay so you can find each again without guessing from a numbered name.
Review what will appear
Toggle the orange shape's visibility to check the covered area, then toggle it back. Use the stacking controls if you want both shapes visible in a different order. A hidden shape stays in the file. Review the finished slide in Slide Show and remove unwanted objects from the copy you distribute.
Tell selection and visibility apart
Selecting Workshop background in the pane gives you access to its formatting even while Orange overlay still covers part of it. If the change you make is under the overlay, temporarily hide the overlay to inspect it. For example, make the background outline thicker, hide the orange shape, and check the right edge before showing the shape again. Moving the overlay would change the layout and create another adjustment to undo.
Name objects by what they do
Use names that tell you why an object is on the slide. Workshop background and Room label will still make sense if you change the colors. If you inherit a slide full of numbered rectangles, click each candidate in the pane and look for its selection handles. Rename the objects you need for the edit first. A short list of meaningful names is enough to make the next revision easier.
Check groups before reordering
If an item belongs to a group, expand that group in the pane and identify which objects are inside it. You can reorder a member within its own group. If you want the complete group to sit behind another object, select the group itself and change its position in the list. Use the practice slide to check which items move together.
Version and exercise
These steps target PowerPoint for Microsoft 365 on Windows. On the web, look under Arrange on the Home or Shape tab. Add a third shape and change the fill of the middle layer without moving it. Can you do it using only the names in the pane?