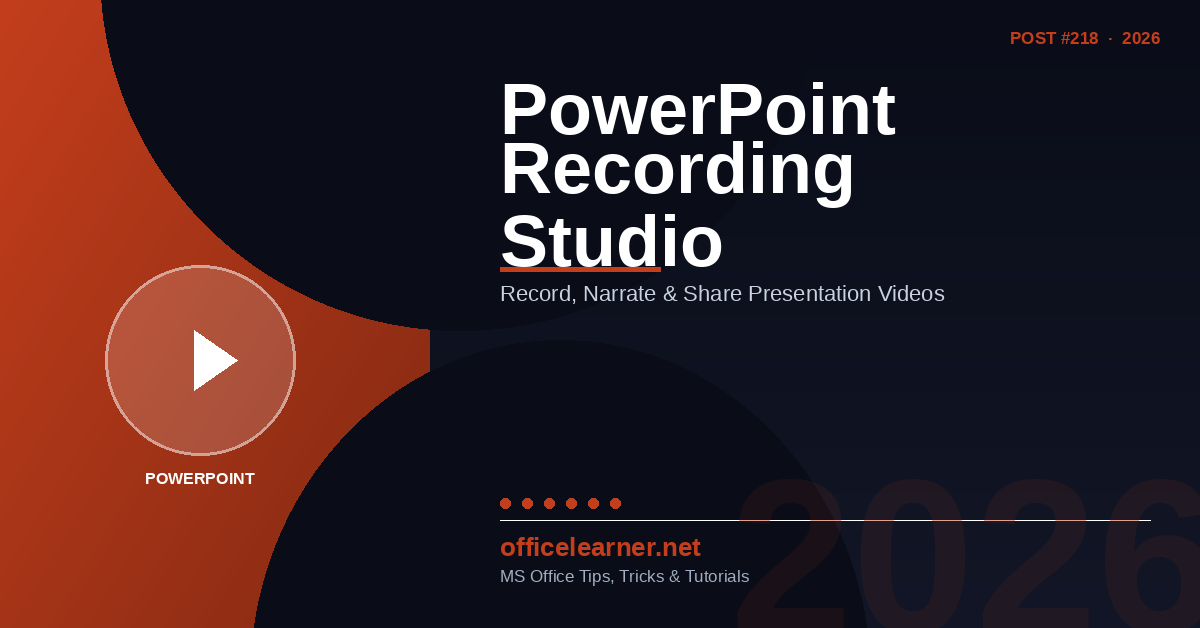
PowerPoint Recording Studio in 2026: Record, Narrate, and Share Presentation Videos
Published: June 8, 2026
What if you could deliver your best presentation over and over again, without ever repeating yourself? That is exactly what PowerPoint's Recording Studio enables. Built directly into Microsoft 365, Recording Studio transforms your slides into a fully narrated, camera-enabled video that you can share via SharePoint, Teams, email, or any video platform. In 2026, with AI-powered teleprompter assistance, automatic captions, and Copilot video narration available for when you do not want to appear on screen yourself, there has never been a better time to turn your PowerPoint presentations into polished video content.
What Is PowerPoint Recording Studio?
Recording Studio is the upgraded recording interface inside PowerPoint, accessible from the Record tab in the ribbon. It replaces the older Record Slide Show feature with a purpose-built studio environment that shows you a live camera feed, your slide content, slide notes, and recording controls all on one screen.
When you record, PowerPoint captures your narration audio, your webcam video (if enabled), any ink annotations you draw during the presentation, and the timing of each slide transition. The result is a presentation video where your slides advance at exactly the right moments to match your narration — creating a professional, self-paced video experience.
Key capabilities in 2026 include real-time AI captions during recording, a built-in teleprompter mode that scrolls your notes on screen while you talk, one-click re-recording of individual slides without redoing the entire presentation, Copilot AI narration that generates a voiceover from your slide content without you needing to speak, and export options to MP4, SharePoint, or direct posting to Teams.
Setting Up Your Recording Studio
Before you hit record, spend five minutes getting your setup right. A good recording environment makes a far bigger difference than any post-production editing.
Audio
Audio quality is the single most important factor in a professional-sounding recording. The built-in microphone on most laptops picks up fan noise, keyboard sounds, and room echo. If you record frequently, a USB cardioid microphone or a headset with a boom microphone will transform your recordings. Before recording, open Settings > System > Sound and verify the correct microphone is selected. Record a 10-second test clip and listen back through headphones to check for echo or background noise.
Camera
Position your webcam at eye level, approximately an arm's length from your face. Viewers subconsciously distrust a camera pointed upward from a laptop on a desk. A monitor-mounted webcam or a small ring-light-and-webcam combo creates the right angle instantly. In Recording Studio, you can choose a circular or rectangular camera bubble and position it in any corner of the slide — or turn the camera off entirely if you prefer slides-only.
Lighting
Face a natural light source or a ring light positioned just above your camera. Avoid recording with a window behind you — the backlight will make your face appear dark. PowerPoint's background blur or custom virtual backgrounds can hide a messy office, but they cannot fix bad lighting.
How to Record Your Presentation: Step by Step
Open your presentation in PowerPoint and click the Record tab in the ribbon.
Click Record from Beginning or Record from Current Slide to open the Recording Studio.
Check your camera and microphone in the bottom toolbar. Toggle the camera and microphone icons to turn them on or off. Select your devices from the dropdown if you have multiple options.
Enable Teleprompter mode (optional) by clicking the Teleprompter icon in the toolbar. This scrolls your slide notes on screen so you can read them while maintaining a natural eye line with the camera.
Click the red Record button and wait for the 3-2-1 countdown. Begin speaking naturally.
Advance slides using the arrow keys or by clicking the screen, exactly as you would in Slide Show mode.
Click Stop when you finish the last slide.
Review your recording by clicking Play. Thumbnails at the bottom show each slide's recording length.
Re-record individual slides by clicking on any slide thumbnail and pressing Record again. Only that slide will be re-recorded — all other slides remain intact.
Export when satisfied. Click Export to Video to save as MP4, or use Share to upload directly to Microsoft Stream.
Using Copilot AI Narration
Not comfortable recording your own voice? In 2026, PowerPoint Copilot can generate an AI narration from your slide content and speaker notes, using a selection of natural-sounding AI voices. This is particularly useful for internal training materials, product demos, and process documentation where a polished on-screen presenter is not required.
To use AI narration:
Click the Copilot button in the Record tab.
Select Generate Narration.
Choose a voice from the available options, adjust the speaking speed, and preview a sample.
Click Generate. Copilot will create a narration for each slide based on the slide content and any notes you have written.
Review each slide's narration, edit the script text if needed, and regenerate individual slides.
The AI narration feature is also excellent as a starting point when you plan to record your own voice. Generate the AI narration first, read through the scripts it creates for each slide, and use them as the basis for your own notes.
Best Practices for Compelling Presentation Videos
Keep individual recordings short. If your presentation is 40 minutes, consider splitting it into five 8-minute modules. Shorter videos have higher completion rates and are easier to update later.
Write your notes before recording. Dense slides with no notes make for poor narration. Write a sentence or two per slide as speaking prompts — this is also what Copilot AI narration uses.
Use animations deliberately. Entrance animations that reveal bullet points one at a time are very effective in recorded videos — each click can align with a specific point in your narration.
Enable automatic captions. Microsoft Stream and SharePoint automatically generate captions from your audio. Always check and correct any errors in the caption file before sharing widely.
Share via SharePoint or Teams, not email. MP4 files are large. Share a link to the video hosted on SharePoint or posted in a Teams channel — the viewer gets a faster streaming experience and you maintain control over access.
Create a chapter index. In SharePoint or Microsoft Stream, add chapter markers so viewers can jump to specific sections. This dramatically improves the experience for longer presentations.
Sharing and Distributing Your Recorded Presentation
Once your presentation is recorded, you have several sharing options depending on your audience:
Export to MP4: Creates a self-contained video file. Best for sharing externally or uploading to YouTube, LinkedIn, or a company LMS.
Share to Microsoft Stream: Hosts the video inside Microsoft 365 with automatic captions, chapter markers, speed controls, and viewing analytics. Best for internal company communications.
Publish to SharePoint: Embed the video in a SharePoint page alongside related documents and resources. Ideal for training materials and knowledge bases.
Post to Teams channel: Share the video as a post in a relevant Teams channel for immediate team viewing and discussion.
Keep the PPTX with recordings: The original .pptx file retains all recordings — you can re-export or re-narrate any slide at any time without starting from scratch.
Conclusion: Your Presentation Deserves a Better Delivery Vehicle
The best presentation you ever give should not be locked in a one-time meeting that only 12 people attended. PowerPoint Recording Studio in 2026 gives you the tools to record that presentation properly — with your voice, your camera, your annotations, and AI-powered captions — and share it with everyone who needs to see it, whenever they are ready to watch.
Start this week: Take a presentation you deliver repeatedly and record it using Recording Studio. Share the video in the relevant Teams channel and note how many questions you stop receiving by email. That is the power of a well-made presentation video.


